Add Padding to Image Online (Free): Tool + Step-by-Step Guide
Quickly add white, black or colored borders to any JPG or PNG—right in your browser. Our free tool helps bloggers, designers and social-media creators make images fit layouts perfectly, no Photoshop required. Read on for instructions, pro tips and FAQs—or jump straight into the tool below.
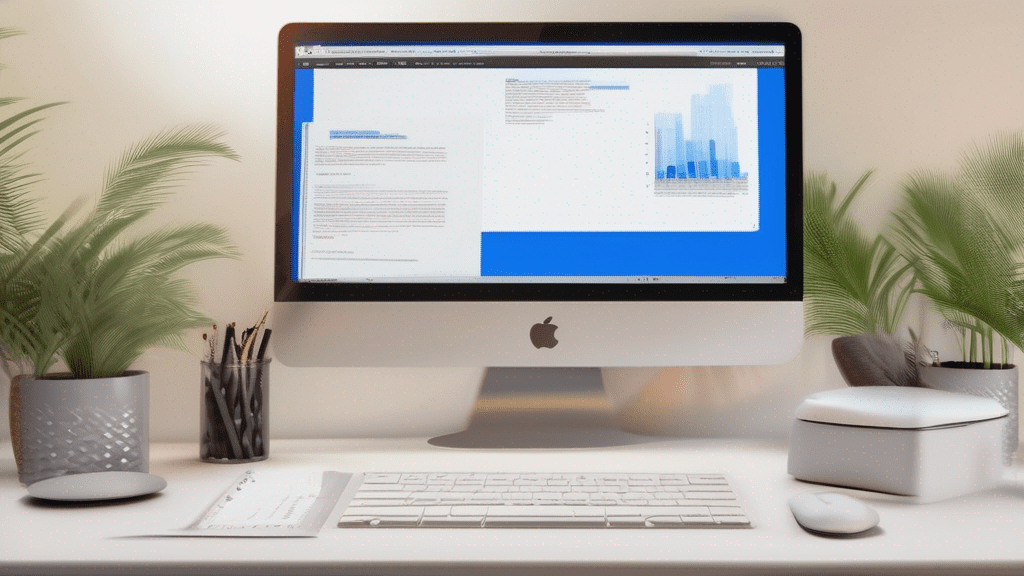
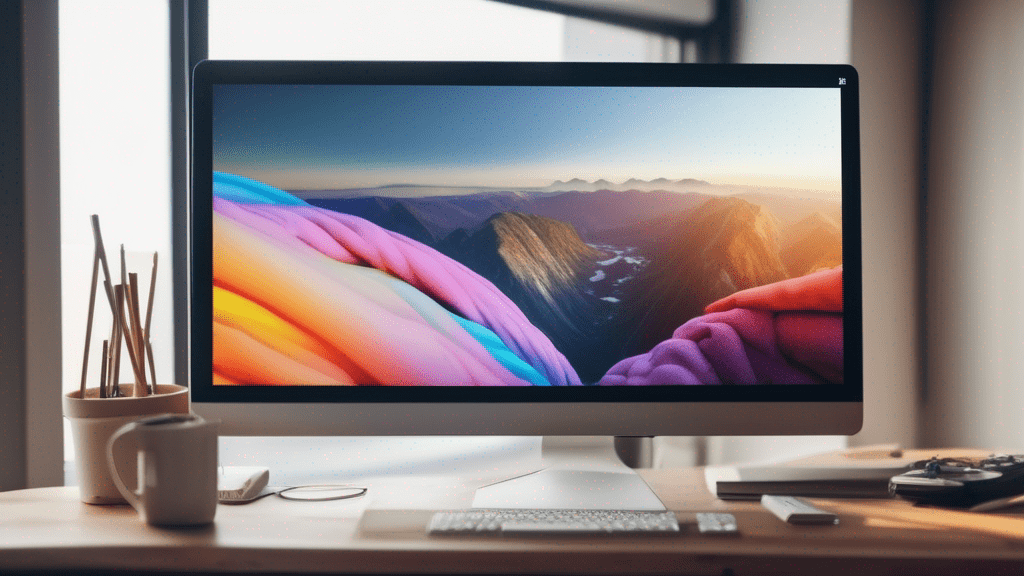
Image Padding Tool – Demo
Download PNG
Why Add Padding to an Image?
| Use-Case | Benefit |
|---|---|
| Web Design & UI Mock-ups | Create equal breathing space so images align perfectly with card or grid layouts. |
| Social Media Posts | Avoid cropping or platform auto-zoom by adding safe-zone margins around logos or text. |
| Print & Presentations | Add clean borders that separate photos from background colors or nearby elements. |
| Photo Collages | Maintain consistent spacing between multiple images for a professional look. |
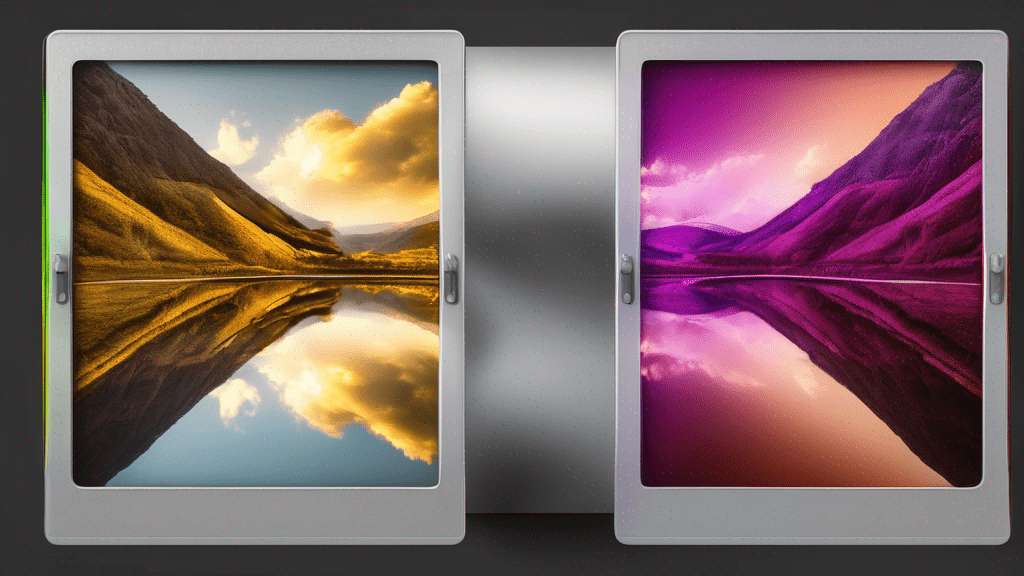
Padding is simply extra uniform space around your picture. Unlike resizing (which scales the image) or margin in CSS (which affects layout only), padding becomes part of the image itself, guaranteeing consistent framing everywhere you use it.
How to Add Padding to an Image Online (3-Step Process)
- Upload: Click “Upload Image” and select any
.jpgor.pngup to ~10 MB. - Adjust: Enter the padding value in pixels (e.g.,
50) and pick a border color—white for classic look, brand color for on-theme style, or even black for dramatic contrast. - Download: The preview updates instantly. Hit “Download Image” to save your padded file as PNG (lossless).
No account, no watermarks, no hidden fees. Everything happens locally in your browser, so your images stay private.
Pro Tips for Perfect Results
- Use even numbers (e.g., 20, 40 px) to keep symmetry on high-resolution displays.
- Match background color to your website’s section color to create seamless “bleed-to-edge” effects.
- Add transparent padding: choose your brand color, then lower opacity in an image editor for semi-see-through margins.
- Combine with rounded corners via CSS (
border-radius) after you upload the padded image to WordPress for a softer feel.
Frequently Asked Questions
Is there a file-size limit?
The tool works smoothly with images up to about 10 MB. Larger files may take longer to process depending on your device.
Does it lower image quality?
No. The original picture is drawn 1:1 onto the canvas; only padding is added. Your final PNG remains lossless.
Can I add different padding on each side?
This version sets equal padding all around for consistency. For custom asymmetrical borders, use a full-fledged editor like GIMP or Photoshop.
Will my image leave my computer?
Never. All calculations happen client-side (inside your browser), ensuring 100 % privacy.
Add Padding in Seconds — No Design Skills Needed
Whether you’re prepping product photos, social-media graphics or blog images, adding a bit of uniform space can dramatically improve visual balance. Bookmark this free “Add Padding to Image Online” tool and keep your workflow lightning-fast. Happy editing!